
5. Size Adjustments & lables
1. Size Adjustments & lables
1.1 Size Change-General
This section is intended to guide the operator through the steps necessary to make the changes required to set up the 16607 Cobot Case Packer Machine.
It takes the form of a list of locations on the machine where changes need to be made. Instructions for each location describe what is being changed and how to make the change. The value of each setting is provided on the operator screen.
After the changeover, the machine must perform the dry cycle (dry run) testing. (Refer the Scada screens manual.)
To make a recipe change:
-
Ensure that the machine is in a safe state, i.e., emergency stopped.
-
On the operator screen, select the desired recipe. This will automatically make changes to the non-Operator adjustable settings of the machine, i.e., Conveyor Speeds, etc.
-
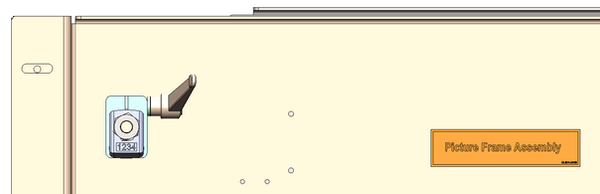
On the Operator Screen, select the Recipe Settings Screen, which corresponds to the chosen recipe. Each adjustment location is numbered on the screen and corresponds to its location on the machine. The location on the machine is highlighted by a Change Part label with the location number on it.
4. Refer to the Size Change Sequence Chart '16607 Size Change List' and adjust the machine assemblies in the order detailed to the value listed on the Recipe Settings Screen.
5. Use the correct carton for the recipe.
23
27
14

25
22
2. Adjustment locations
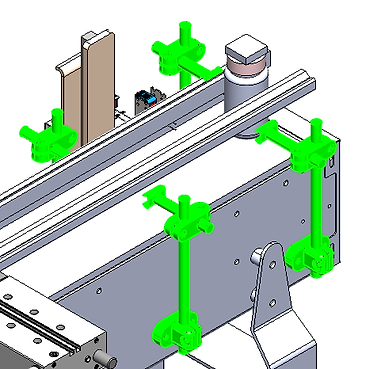
2.1 LOCATION 14: Magazine Assembly
1. Size change location 1401: Rotate the hex nut using a ratchet to adjust the shipper to the required height, referring to the counter display. Once the adjustment is complete, use the handle to lock the counter
2. Size change location 1402: Partially unscrew the knobs (refer to the image highlighted in green below). Adjust the plates using a scale to achieve the required width for the respective carton by using the Handle, then tighten the knobs.
2.2 LOCATION 23: Modular Infeed Conveyor
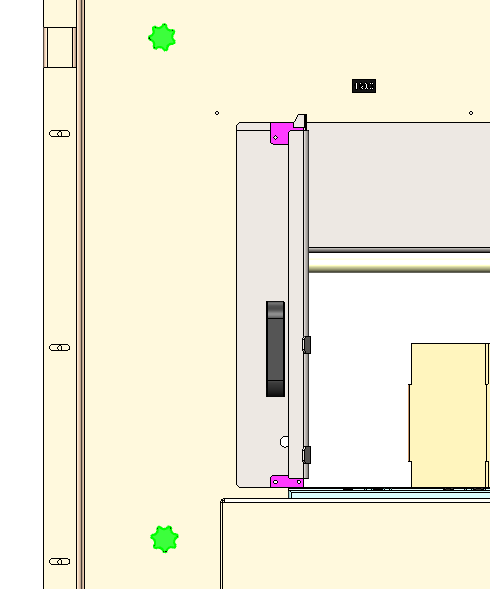
1. Size change location 2301: Partially unscrew the guide using an Allen key (refer to the image highlighted in green below). Adjust the guide rod using a scale to set the required width for the respective bottles, then securely tighten the guides. The same adjustment procedure applies to all size change locations from 2301 to 2304.
2. Size change location 2305: Adjust the lever to set the sensor according to the bottle height, then tighten the lever.
3. Size change location 2306: Adjust the lever to set the clamp cylinder according to the bottle Dia, then tighten the lever.
3. Size change location 2307: Adjust the lever to set the stopper cylinder according to the bottle row, then tighten the lever.

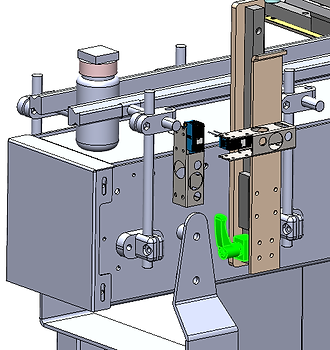
2.3 LOCATION 22: Tapping Machine
1. Size change location 2201: Rotate the lever to adjust the shipper to the required height using the scale for reference. (The image attached below is for reference purposes.)

2. Size change location 2202: Rotate the lever to adjust the shipper to the required width using the scale for reference. (The image attached below is for reference purposes.)

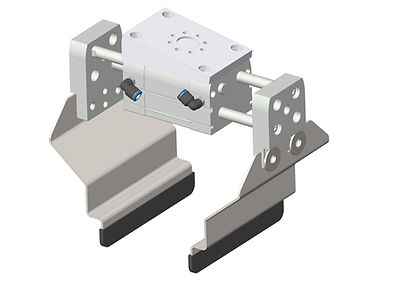
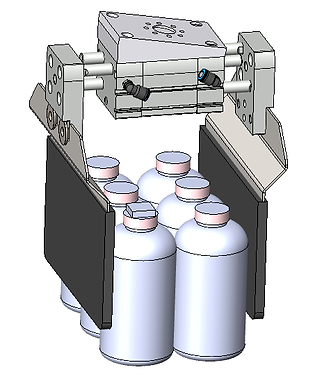
2.4 LOCATION 25: Matrix Pick & Place Cobot Pick Head
1. Size change location 2501: Partially unscrew the clamp and change the Pick head side plates according to 30cc bottle size
_JPG.jpg)
2501.01
2501.02
2. Size change location 2502: Partially unscrew the clamp and change the Pick head side plates according to 100cc bottle size

2502.01
2502.02
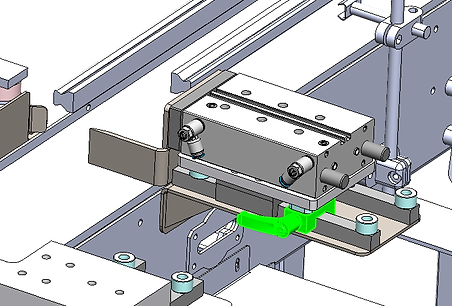
3. Size change location 2503: Partially unscrew the clamp and change the Pick head side plates according to 1300cc bottle size
2503.01
2503.02
2.5 LOCATION 27: Case Erector Assembly
1. Size change location 2701: Rotate the hex nut using a ratchet to adjust the required width of the shipper for the Bottom Minor Flap Cylinder, referring to the counter display for guidance

2. Size change location 2702: Rotate the hex nut using a ratchet to adjust the required width of the shipper on the tilting conveyor, referring to the counter display for guidance.

2. Size change location 2703: Rotate the hex nut using a ratchet to adjust the required width of the shipper on the case erector Vacuum Station, referring to the counter display for guidance

2.6 LOCATION 34: Labelling Conveyor
1. Size change location 3401: Partially unscrew the guide using an Allen key (refer to the image highlighted in green below). Adjust the guide rod using a scale to set the required width for the respective bottles, then securely tighten the guides. The same adjustment procedure applies to all size change locations from 3401 to 3404.

3 Change Part matrix
